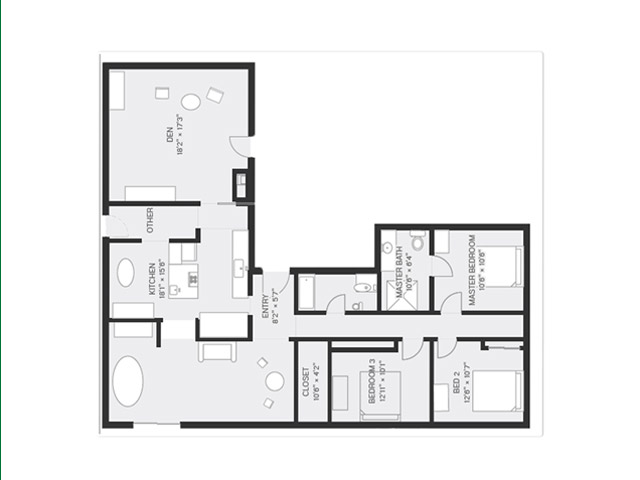
Whether you’re new to doing Real Estate Property Floor Plans or are looking for ways to make the process more efficient or reliable, here are a few tips to keep in mind.
1. Start out by shooting video with a small camera (phone for example) to capture every nook and cranny of the property.
This isn’t going to be uploaded to the web, it’s just for your reference. When you’re doing a property floor plan, odds are that you’re also taking care of the photography, and even though you’ll have the photos for reference when creating the floor plan, you might be missing some important details in your shots. The shots you take to showcase a property serve a completely different purpose than the details in a preparation video. You might, for example, take a great shot of a living room but fail to notice the dimensions of a smaller wall (off-camera) that will aid in constructing your floor plan. Do the prep work ahead of time and save yourself hours in the long run.
2. Take an aerial sketch of the room (including furniture).
Taking a quick sketch will give you that “larger” picture of how things are situated in the room. When you have a sketch, you can use this to double check the overall dimensions and shape of the room if something doesn’t seem right. In other words, it really helps with scale and things in the room in relation to each other Again, you will most likely refer to photos you shot to remember where furniture it located. But another purpose of sketching the furniture is for use as reference points. You might not have a great angle of a table or chair in your finished photo, but having the sketch can serve as another means of verifying measurements and lining things up, like where that chair is in relation to doorways and other transitional areas.
3. Measure more than once and record the dimensions on paper.
Sometimes measurements end up being a little off, either due to careless measuring or an inconsistent and unreliable way of measuring. Always ensure that you measure your main room dimensions at least twice to ensure reliability. This is especially important if you’re using a digital laser measure. The cheaper models are often inconsistent due to variations in lighting setups or obstructions in the room. Whether you’re measurements are being inputted into a device or not, have a WRITTEN copy of those dimensions. You’d be surprised how many times there are discrepancies – especially if you’re new to floor plan building or you have cheap equipment.
4. Take note of some key smaller dimensions in a room.
Most floor plans will include the main dimensions of a room in the final product – that is the 2 main walls. These are, by far, the most important, but sometimes accuracy can be degraded if you’re not taking note of smaller dimensions. Examples of these smaller dimensions include walls between corners and entry ways, entry ways themselves, and hallways. In order to have an accurate representation of the property, you have to know where the entry way starts, where it stops, and how wide it is. Knowing this will give you the ability not only to depict the dimensions of a single room but could also allow you to double check the setup in an adjoining room, as most doorways are lined up with each other. Use this to your advantage. While homes vary in the size of their entry ways, one plus is that it’s most likely uniform throughout the house. Taking one, simple measurement could save you a lot of second guessing later on.
5. Double check with existing materials.
Use resources that already offer some information about the floor plan of property. Even if it’s not very specific, it can still be used as a general “big picture” type of check. Examples of this include property websites like Zillow, Trulia, or Redfin as well as mapping sites like Google Maps or MapQuest. Some details might have been offered in one of these larger websites if the property was previously listed within the last couple of years. And I can’t tell you how many times I’ve caught the simplest of mistakes just by looking at an aerial view on something like Google Maps. I often pay so much attention to the details that it makes it harder to put the whole puzzle together accurately. Use these resources to your advantage!
6. Make a checklist and stick to it.
If you’ve done your preparation the right way, you’ll already have a checklist of the different tasks that you need to complete before you’ve even stepped foot on the property. Of course that checklist is only as good as how you follow it. It’s a good idea to take a look at the list you created right after you’ve had a tour of the property. That way to you can make small changes to fit that particular property. While this is especially important if you are completing multiple tasks (e.g. photography and floor plan), it can also be applied just for floor plans. Floor plans need to be accurate, so to ensure that you’ve prepared for AND completed everything that was mentioned in this article, it’s best to go over everything at the very end – just to make sure. You might not have access to the property a 2nd time, and you don’t want to leave your client empty handed because you forgot a step.
If you have any questions about building a real estate property floor plan, or you have suggestions you would like to share, let us know.


